Edit a computer-generated transcript
For automated transcripts. You can open a generated transcript in the editing studio and review and edit it. The transcript includes time codes that allow you to play the audio from the beginning of the phrase, so you can compare each transcribed phrase to what was actually said. You can also use the search bar to search for words or phrases in the transcription that you know need to be corrected.
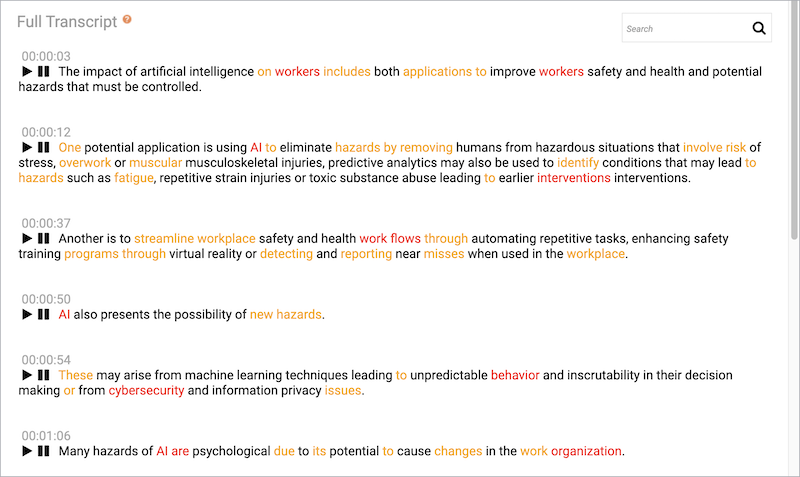
The system uses colors to highlight words that need to be reviewed for accuracy.
- Red indicates a low level of accuracy. Words might be transcribed incorrectly.
- Orange indicates a good level of accuracy. Words are probably transcribed accurately, but might be incorrect.
- Blue indicates text you edited.
Note: When you save the transcript draft, the text you edited changes to black.
After you save your changes and publish the event, the transcript is generated again with your updates. When ready, you can download the new version. If you made the transcript available to the audience, the transcript is also updated in the event recording.
To edit the transcript:
- Sign in to the Webcast Admin portal and edit the event.
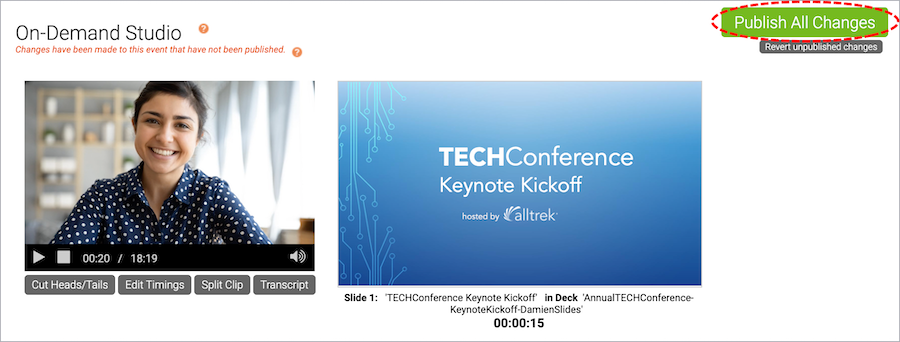
- On the Event Summary tab, click Launch On-Demand Studio or Launch SimLive Studio.
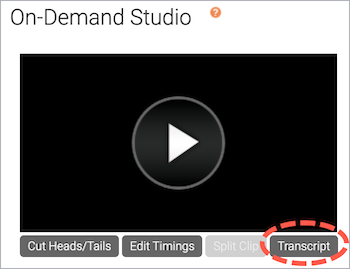
- In the editing studio, under the video player, click Transcript.
- The transcript is displayed in the Edit Transcript window. Review the transcript in the Full Transcript section.
To compare the audio to a phrase, click the Play button. To edit the transcribed text, click a phrase and then type your changes. To stop editing, click outside of the phrase.

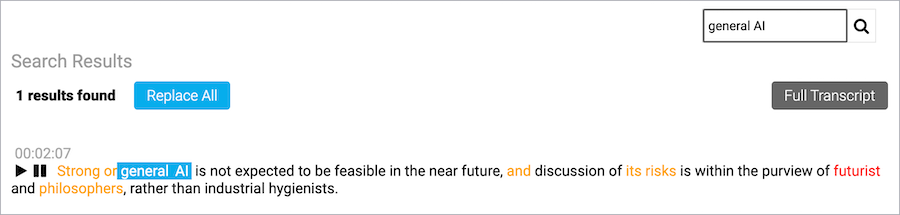
- To find and replace words or phrases, enter a word or phrase in the search bar and press Enter. Click Replace All, enter what you want to replace the phrase with, and click Apply.
- After you finish your edits, click Save Draft.

- A message displays asking if you're sure you want to save your changes. Click Yes.
- A message displays letting you know the save was successful. Click Ok and then close the Edit Transcript window.
- To save changes and generate a new transcript, in the editing studio, click Publish All Changes.