Add headshots to an audio event
Use Headshots in your Audio-Only events to display a photo of the current speaker or logo to the audience. These images will appear to the audience in the top left corner of the player above the media controls. Presenters can changes these images as needed from the Live Studio or added later in the On-Demand Studio.
Setup
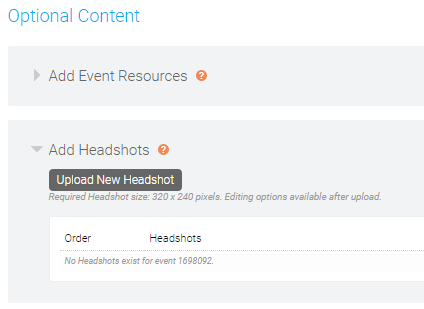
Images can be uploaded on the Event Content page under Add Headshots. Click on the Add Headshots text and select Upload New Headshot.
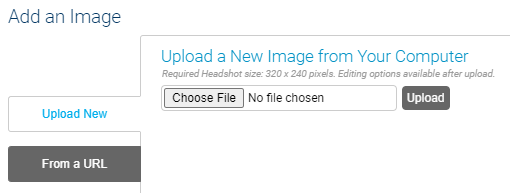
Images can be uploaded from your computer using the Upload New option (default). Click Choose File to locate the image on your computer and click Upload to add it to the event. To upload an image from a URL, click From a URL along the left column and enter the URL for the image you would like to upload.
The headshot window is 320x240. If you upload an image larger than this, you will be prompted to resize the image. Select Crop Image to Fit to crop the crop a portion of the image to use or select Scale Image to Fit to resize the entire image to fit within the headshot window. Click Apply to save.
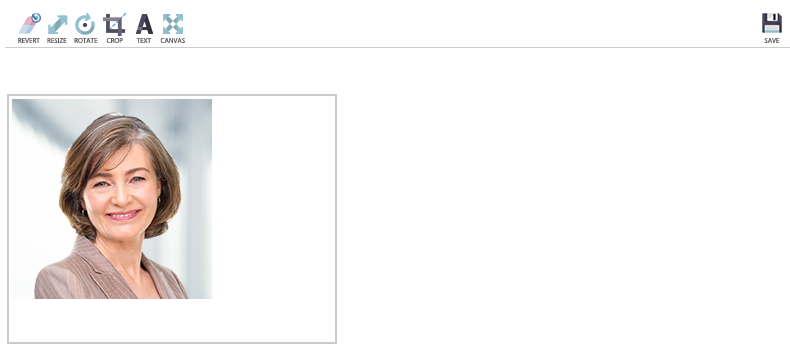
Images can be edited after being uploaded using the controls along the top of the interface. Resize or Crop images to adjust the size. Use the Canvas to add extra space around the image. Use the Rotate option to rotate an image or use Text to add text, like a speaker's name, title and/or company. Click Save in the top right to save an image for use on your event.
Live Event Controls
For live events, available headshots will appear on the Headshots tab of the Live Studio. The active headshot has a green box around the image here and will appear in the top left window of the Live Studio to confirm what viewers are seeing.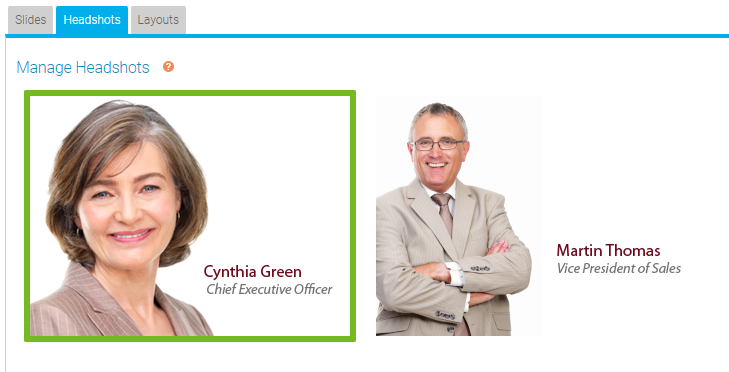
By default, the first headshot in your list is selected in Live Studio will be sent to your audience when the webcast is started. You can change the default order in the headshot list or select a different headshot in the Live Studio before clicking Start Webcast.
Any presenters with Live Studio access can advance headshots on the event.
On-Demand Event Controls
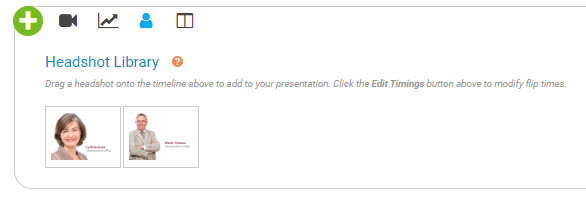
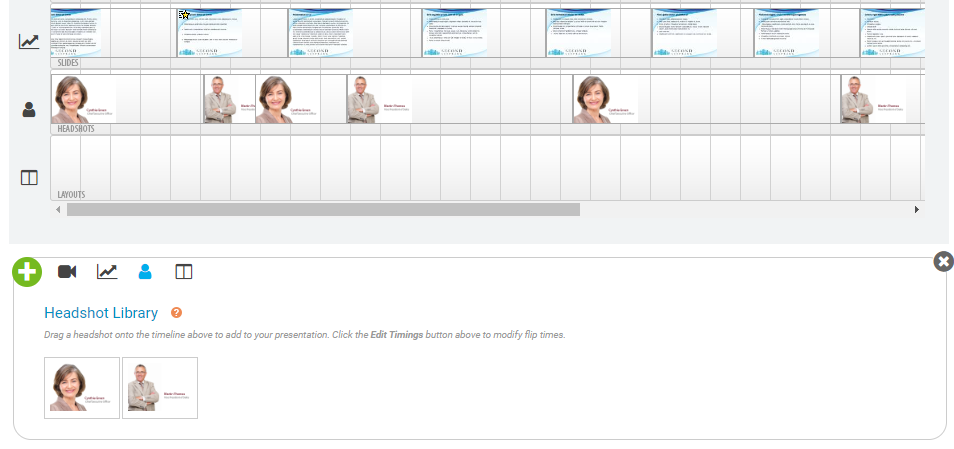
For on-demand events, available headshots will appear in the Headshots Library of the OD Studio.
Use the Headshots track of the Event Timeline to control what headshots appear and at what time they appear to viewers. Drag and drop headshots from the Library onto the Timeline to add them to the event.
Right-click on a headshot on the timeline to access additional controls. Click Edit Headshot to add a timecode for when the headshot should appear. Click Remove Headshot to remove it from the event.
Best Practices
- Headshots must be exactly 320 x 240 pixels in size. Larger images can be resized if needed.
- Headshots must be in .jpg or .png format.
