Send follow-up emails for an event
Schedule one or more emails to be sent after the event ends to promote future events, gather feedback, and reconnect with attendees. You can send emails to registrants who attended the Live event, attended the Simulated Live event, watched the On-Demand event (Live event replay), did not attend the event, or to everyone. You can also customize the subject and the body of the email and change the sender name and reply-to address.
Note: To ensure that the registration data is up to date and attendees receive the emails, schedule follow-up emails at least one hour after the event concludes.
Schedule and send follow-up emails
To schedule follow-up emails:
- Sign in to the Webcast Admin portal and edit the event.
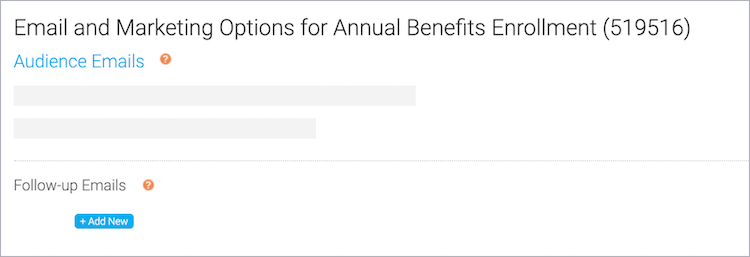
- On the left panel, click the Email & Marketing tab.
- In the Audience Emails section, under Follow-up Emails, click + Add New.
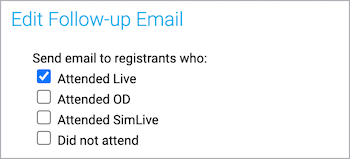
- In the Edit Follow-up Email window, select who you want to send the email to. Attended Live is selected by default.
- Optional. Delete the placeholder text in the From Name, Reply-To Email, and the Email Subject fields and enter new text.
- At the right side of the text editor, click </> to switch to code view.
- Delete all the placeholder code.
- Paste your custom code or click </> again to switch back to the text editor view to add text, images, or links.
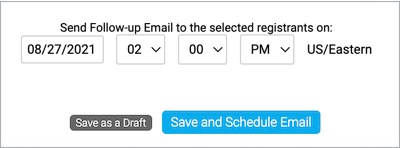
- Click Schedule Email, select the date and time you want to send the email, and then click Save and Schedule Email. You can also optionally save the email as a draft and schedule it later.
- Click Save and Continue.
Preview your work
You should always send yourself the email before sending it to attendees.
To preview the follow-up email:
- In the Webcast Admin portal, edit the event.
- On the left panel, click the Email & Marketing tab.
- In the Audience Emails, next to the email you scheduled, click Edit.

- Under the text editor, next to Send a test email to, enter your email.

- Click Save and Schedule Email.
- Click Save and Continue.