What is a portal?
A portal is a website that you set up to host multiple events, replays, and other content from a single link. With a portal, your visitors register one time and can attend any of the events on the portal. Reporting is similar to event reports, except the results include all events on the portal.
To create a portal, sign in to the Webcast Admin portal. At the top right of the My Events tab, click Create New Portal. Create the events first and then in portal setup, select the events you would like to include.
This article is an introduction to portals and provides some examples.
Portal basics
Every portal includes a registration page and a list of events. You can include all types of events: Live, Simulated Live, and On-Demand (or replays). You can also host breakout sessions in any meeting app of your choice; just add the meeting URL.
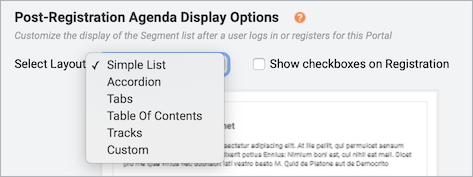
You can choose from different layouts to set up the registration page. Similar to event setup, you can use branding to customize colors, add logos, add background images, and more. For the portal itself, there are several layouts for listing your events, as well as grouping options to organize the events.
Organize your events
On a portal, the list of events is called an agenda or schedule. Each event linked to the portal agenda is a segment.
- On the Portal Layout tab, choose how your portal will look once a visitor signs in.
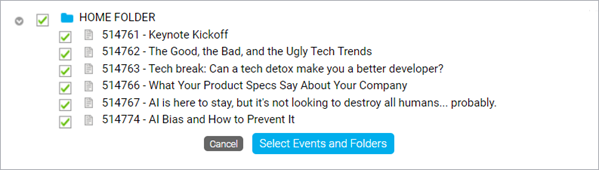
- On the Manage Segments tab, select the events and breakout sessions to include on the portal agenda and sort them.
The portal sorts events by their scheduled date and time. Depending on the layout you select, you can use automatic grouping to further group events into tabs with their scheduled date or you can create your own custom categories (called tracks).
- The Simple List layout is just as it sounds - a list of events, sorted by date and time. For automatic grouping, select a different layout.
- The other layouts add visual elements like expandable accordions and tabs to group events. On the Manage Segments tab, create categories and assign events to them or group events automatically by date. The category names or dates display on the accordions, tabs, etc.
- Show checkboxes on Registration is available for Simple List and Custom layouts only. Select this option to allow viewers to select which events they would like to access.
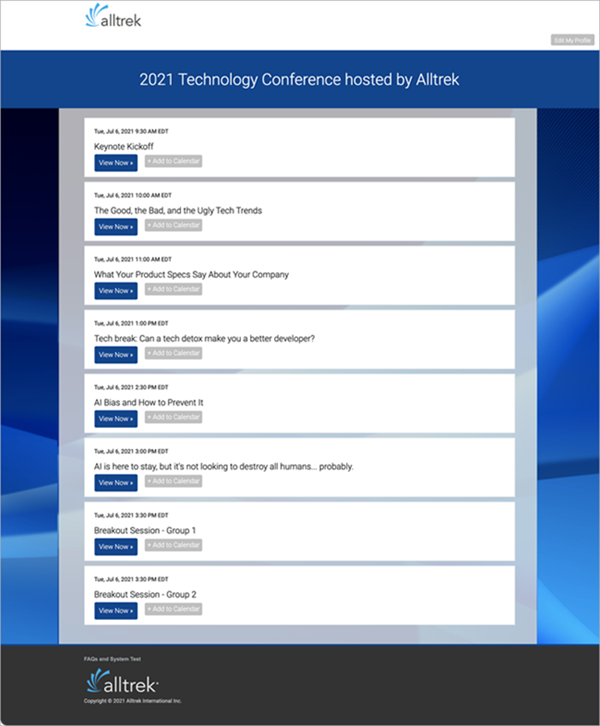
Example 1 - Simple list of events
This example sets up a portal with six events and two breakout sessions for the same date, sorted by time.
- Layout: Simple List
- Automatic Grouping: None (not available with Simple Layout)
- Categories: None (not available with Simple Layout)
On the Manage Segments tab, click Add Segments and select the events to include.
The resulting portal looks like this.
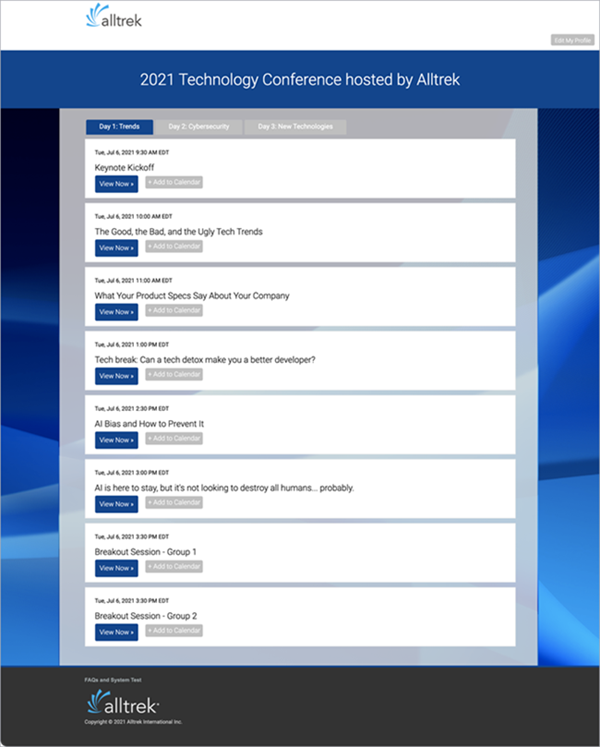
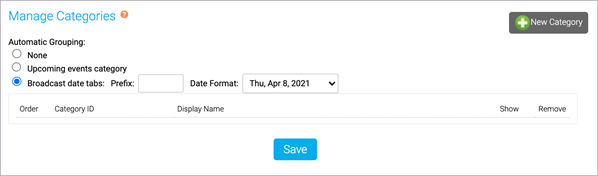
Example 2 - Events organized into tabs by date
This example sets up a portal with six events and two breakout sessions per date. They are grouped into tabs by their scheduled date. The portal displays the dates on the tabs.
- Layout: Tabs
- Automatic Grouping: Broadcast date tabs
- Categories: None
On the Manage Segments tab, click Manage Categories to access the automatic sorting options. You don't have to create any categories.
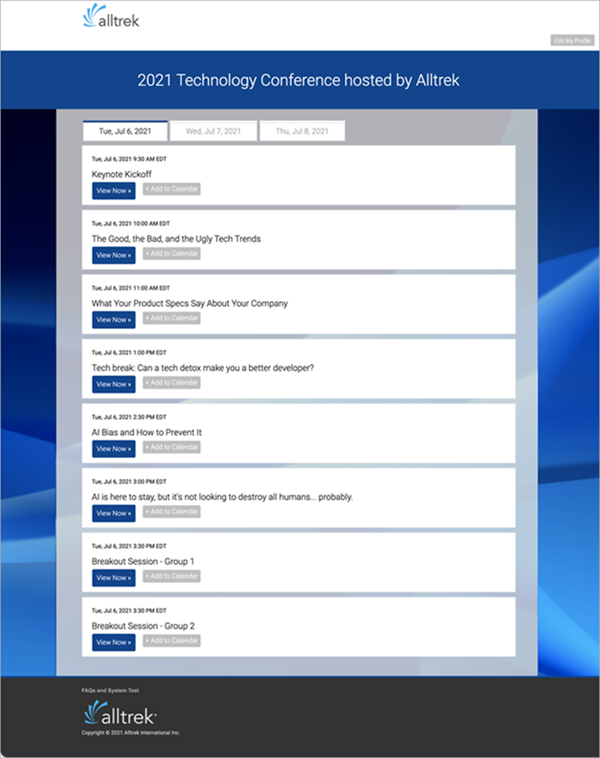
The resulting portal looks like this.
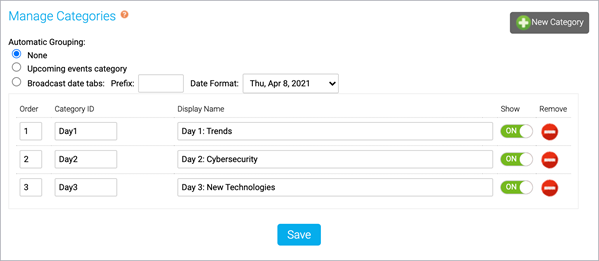
Example 3 - Events organized by categories (tracks)
This example sets up a portal with six events and two breakout sessions per date. They are grouped into three custom categories. The portal displays the category names on the tabs.
- Layout: Tabs
- Automatic Grouping: None
- Categories: Yes
On the Manage Segments tab, click Manage Categories to set up the categories. Then assign the events to the categories you created.
The resulting portal looks like this: