Create an On-Demand event
On-Demand events are recordings that can be watched at any time. When setting up an On-Demand event, select whether the primary media clips (typically presenter narration) you plan to include are audio or video files. This Media setting affects what you can upload to the event and present in the video player (headshots with audio or videos) and the video player size (on the Player & Branding tab). You can include overlay videos regardless of the Media type you select.
After creating the event, go to the Event Content tab to upload your primary media clips, slide decks, videos, and other content you'll share in the event. Then, open the On-Demand Studio and assemble your event. To learn more about uploading clips and assembling the event, see:
- Upload audio clips for use in a recorded event
- Upload videos for use in a recorded event
- Assemble or edit an event recording
Note: The event can be from 30 minutes to 8 hours long.
Jump to: Create an On-Demand event | Allow attendees to view the event
Create an On-Demand event
To create an On-Demand event:
- In the Webcast Admin portal, at the top of the page, click + Create New Event.

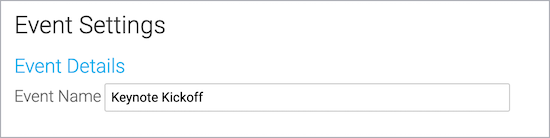
- On the Event Settings tab, enter the event name.
- Next to Event Type, select On-Demand.

- Select the event duration.
- Select the type of media you'll be uploading as the primary event content. This affects the size of the video player (on the Player & Branding tab). If you will upload:
- Audio files to play while displaying presenter headshots in the video player, select Audio.
- Video files to use as presenter video in the video player, select Video.
- For the Max. Audience Size, select the number of people you expect to watch the recording at one time. Access to your event will be limited to this specified number of simultaneous viewers.
- Once the event details are complete, at the bottom of the Event Settings tab, click Create Event to proceed with the setup process.
Allow attendees to view the event
Once the event is ready for viewing, make sure to allow attendees to access the event. By default, the event window is closed to attendees to prevent them from viewing the event before it has been assembled.
To allow attendees to access the event:
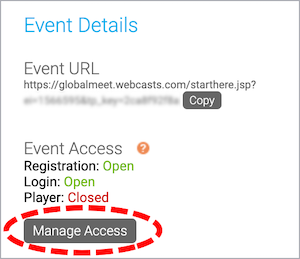
- Go to the Event Summary tab.
- In the Event Details section, under Event Access, click Manage Access.
- On the Manage Event Access window, set the Player to Open.
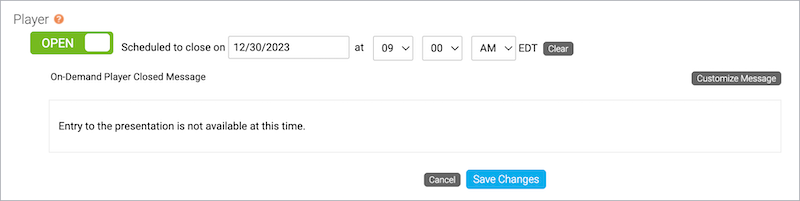
- Optional. Set the player to close at a scheduled date and time and update the message attendees see when they join the event when the player is closed.
- Click Save Changes.