Add human-generated captions to a recorded event
To add captions to a replay or to an On-Demand or Simulated Live event, you need a timed caption file in VTT (WebVTT) format. A timed caption file contains the text of what is said in the recording, plus time codes for when each line of text should be displayed. You can request a caption file for your event or ask your captioning provider for a compatible file.
Notes:
- Captioning during a Live event is not included in the event replay.
- Additional instructions on setting up real-time captioning for Live events can be accessed in the Knowledge Base.
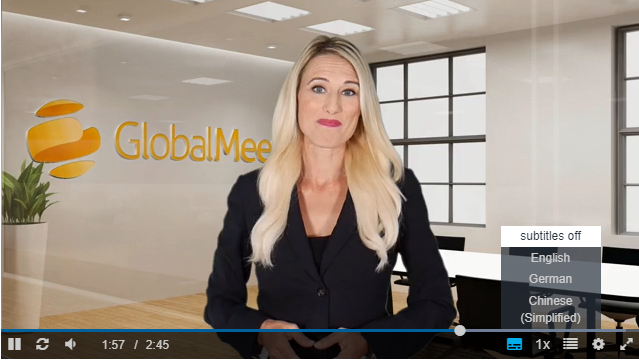
Once you receive the caption file, upload the file in the setup of your event. You can offer captions for your event in different languages; just upload a separate timed caption file for each language you want to provide. Captions are shown inline with the video. You can display them automatically or allow attendees to turn them on as needed. Attendees can turn captions off at any time.
Important: Captions are timed with the event audio. If you edit an event recording after receiving a caption file, the captions will be out of sync. You must request a new caption file.
Jump to: Request captioning services | Add replay captions | Preview your work
Request captioning services
We can provide a timed caption file for your event. If you edited your event recording after requesting captions, you must request a new caption file.
To request replay captions:
- If you have a Standard or Premiere plan, send us an email at GlobalReservations@webcasts.com.
- If you have an Essential, Professional, or Enterprise webcast plan, go to the Professional Services Request site.
Add replay captions
To add replay captions to an event:
- Sign in to the Webcast Admin portal and edit the event.
- On the left panel, click the Event Content
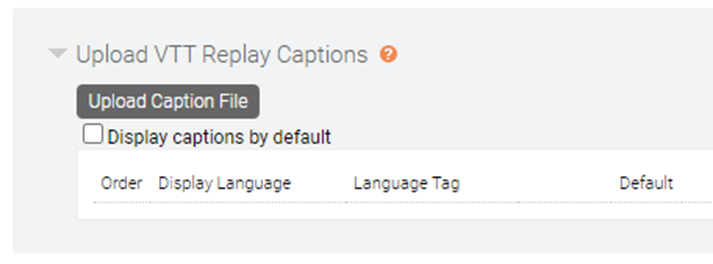
- Under Optional Content, expand the Upload VTT Replay Captions section and click Upload Caption file.
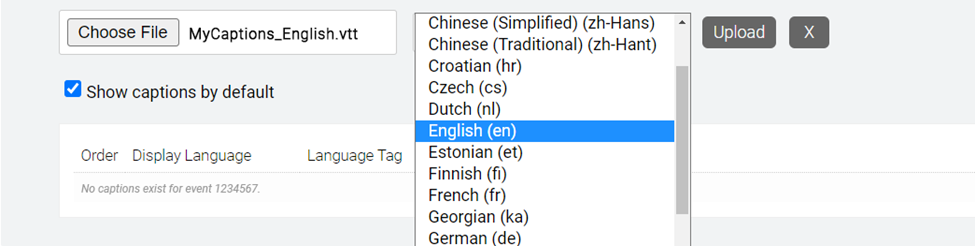
- Click Choose File and select the caption file.
- Use the Choose Language dropdown to select the language for your captions.
- Click Upload to add the captions to your event.
- A message displays to let you know the captions were successfully uploaded. Click Ok to close the message.
- Update the Display Language field to change the name viewers will see when accessing the captions.
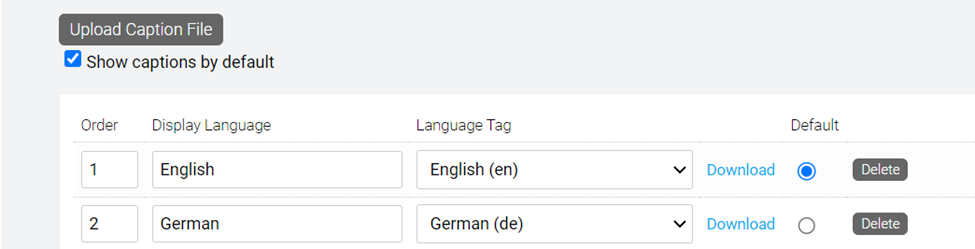
- If you have caption files in additional languages, repeat these steps to upload them.
- Optional - To automatically display the captions to the audience, select Display captions by default checkbox.
- If multiple captions are uploaded, use the Default column to select which language will appear to viewers by default.
- Click Save and Continue at the bottom of the page.

Preview your work
You should always preview your captions and make sure they are timed correctly with the event audio.
To test captioning for your event:
- Go to the Event Summary tab and under Review My Event, click View Event.
- Register for the event to view it as an attendee.
- In the event window, point to the video player, click the Captions button and select a language. If you selected Show captions by default, captions automatically display in the language you selected..