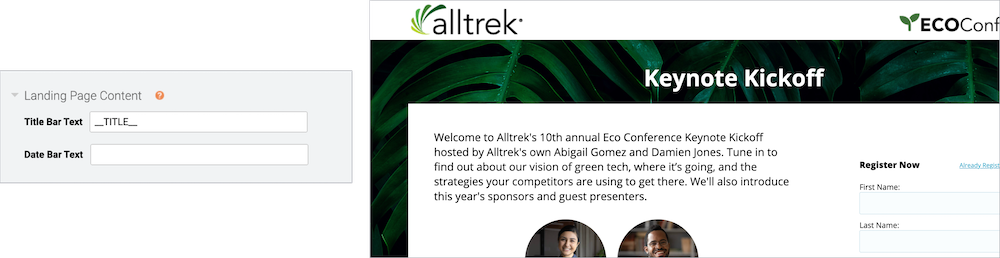
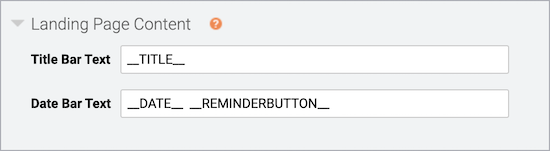
Customize the event title and date | Open layouts
By default, the registration page includes the event title, the event date and time, and a calendar reminder button. For Title Top layouts, these elements are centered on the page, above the registration form and the landing page content. For Side-by-Side layouts, they are included in the landing page content area next to the registration form. You can update the text displayed or hide the title, date, or both.
This information is included by the __TITLE__, __DATE__, and __REMINDERBUTTON__ auto-fields. The benefit of auto-fields is that they automatically update when you make any changes to your event title or date on the Event Settings tab.
Note: The color of the title and date text depends on the background color you select. If you select a dark color, the text is white. If you select a light color, the text is black. To learn more about backgrounds, see Registration page background and form and content area colors.
To change the text:
Go to the Registration tab. Scroll to the Customize Landing Page Content section and open Landing Page Content.
You can:
- Edit the text and provide additional event details or manually change the date and time
- Rearrange the auto-fields or include other auto-fields
- Hide the title or date by removing the text
For example:
- If you'd like to allow attendees to register for a Simulated Live event before scheduling a broadcast, you can update the event date and time to reflect the planned broadcast date.
- The original broadcast date and time are displayed on Live event replays. After the Live event, you can remove the date bar to avoid confusing attendees.
This example shows the registration page without a date.