Add text, images, and other media to the registration page
All registration layouts include a dedicated space for additional content. By default, this space - called the landing text - is empty. You can edit it and include additional event information, images, speaker headshots, links, and videos on your registration page. You can also add your own custom code or use auto-fields to include the event title, date, duration, or reminder buttons on the page.
The landing text area is in the registration container, either next to the registration form (open layouts and 2-column bar layout) or spanning the width of the registration container (one-column and popup registration bar layouts).
To add content to the registration page:
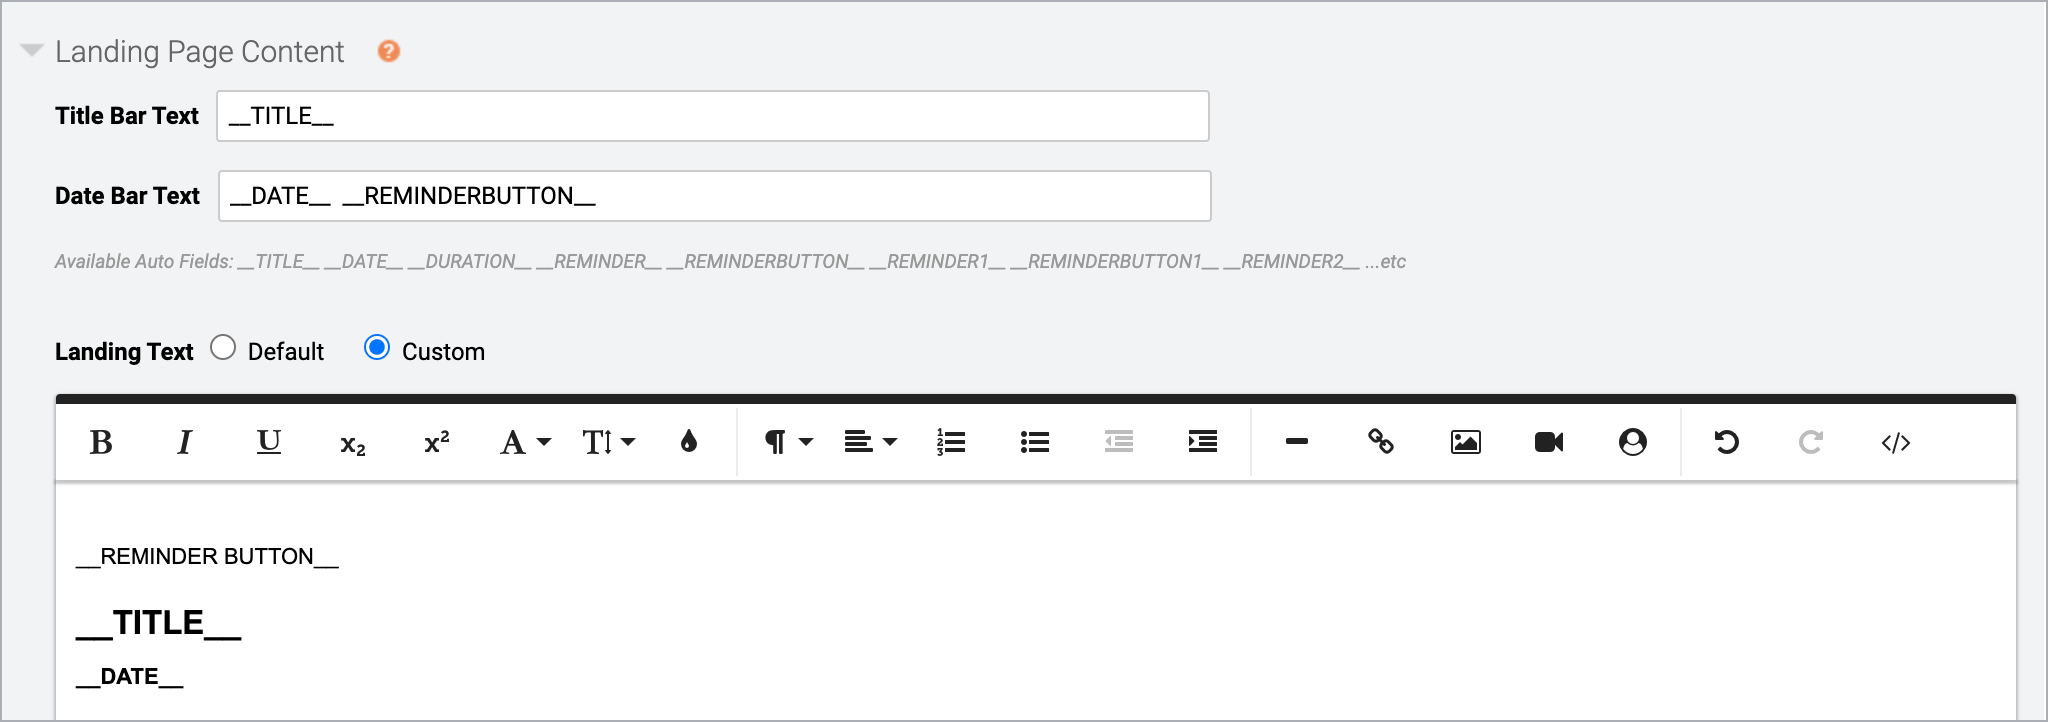
Go the Registration tab, scroll to the Customize Event Landing Page section, and open Landing Page Content. Next to Landing Text, select Custom to open the text editor.

When you first open the text editor, it includes auto-field placeholders for the event title, date, and the Add to Calendar button. If you want to include this information in the body of the page, clear the Title Bar Text and Date Bar Text fields so that it isn't duplicated.
Otherwise, at the right side of the editor, click </> to switch to code view and delete the placeholder code. Click </> again to switch back to the text editor view and add and format text, images, speaker headshots, links, and videos. Available auto-fields are displayed below the editor.

To learn more about auto-fields, see Auto-fields for event landing pages.
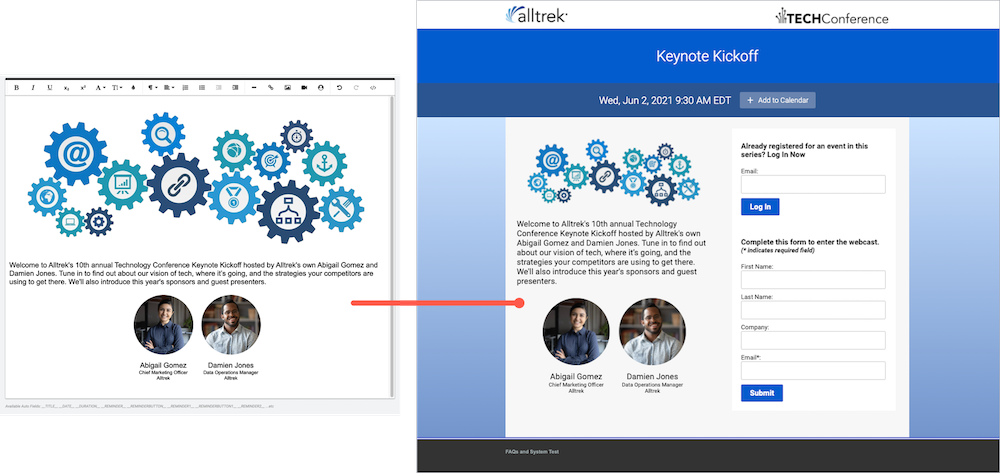
This example shows a registration page with an image, speaker headshots, and text.
