Video Bridge Integrations - Zoom
The Webcast platform allows for external video streams to be connected to the Video Bridge. This article will cover instructions on incorporating a Zoom meeting to your Video Bridge event. Topics include:
When to Integrate Zoom
In order to ensure the success of your Zoom-connected webcast, these are our recommended integration setups. Setups outside the recommendations can cause connection bottlenecks, video source control issues, and feature confusion. We have no ability to control your Zoom account.
Video-Only Broadcasting
If you need to take your regular Zoom meeting setup and push it out to a large video audience, without the use of any player features, The Webcast allows you to scale up quickly to thousands of online attendees.
Dedicated Panel Discussion
During a long presentation, if you have a series of panelists who need to be brought in mid-event, using a 3rd party tool like Zoom provides you the ability to mute these speakers on our Video Bridge until their portion of the presentation begins.
Connecting to Zoom
Dialing Out to Zoom
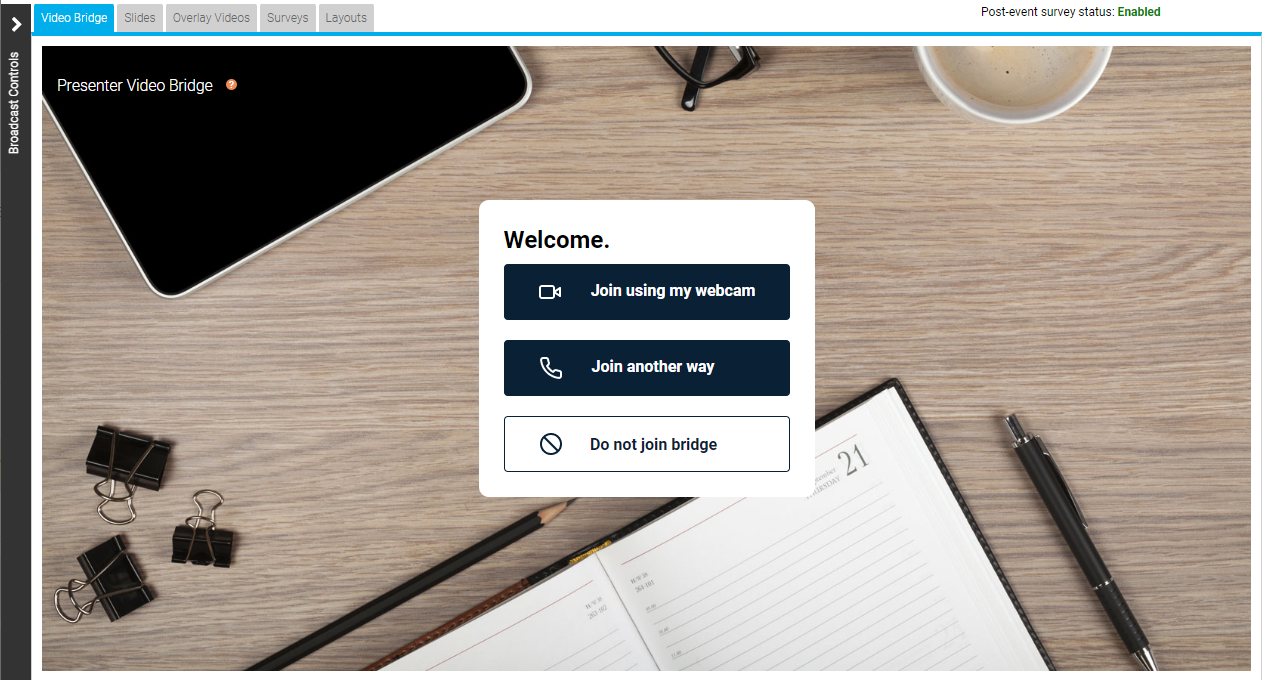
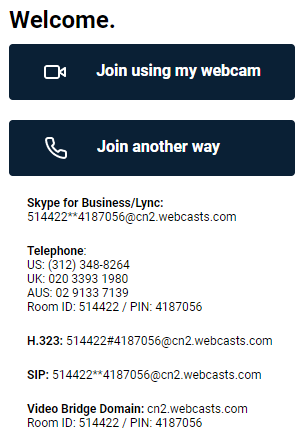
When you join the Live Studio for the event, the Video Bridge tab will appear by default. Regardless of if all of your presenters will be connecting through Zoom, the event host needs click Join using my webcam. This allows you to initiate the Video Bridge, access to the advanced Video Bridge controls, and the ability to connect/start/end the event.
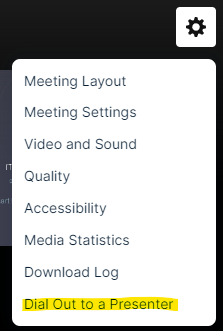
Once you have connected your webcam, click on the gear icon in the top right of the Video Bridge. Then, select Dial Out to a Presenter.
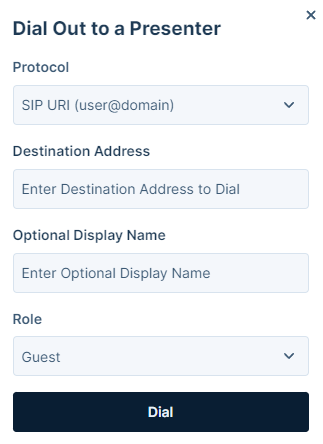
A pop-up window will appear where you can connect to the Zoom room. For Protocol, select "SIP URI". In the Destination Address field, enter the Zoom room address. The default SIP address format for a Zoom room is “[Meeting ID]@zoomcrc.com". To access instructions on the Zoom Conference Room Connector, visit: https://support.zoom.com/hc/en/article?id=zm_kb&sysparm_article=KB0060661
Dialing In From Zoom
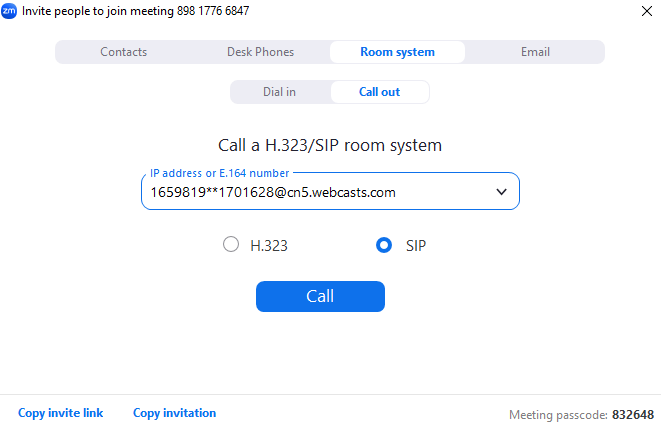
Alternatively, you can invite the Video Bridge into the Zoom room by having Zoom dial out. Select Invite and then select Invite a Room System.
In the pop-up window, enter the SIP address of the Video Bridge, which is available in the Connect using another source section of the Live Studio when you first join the Video Bridge.
When incorporating a Zoom room into a Video Bridge event, the Video Bridge will display the Zoom room as it is currently configured. Adjustments to the display of the Zoom room can be included when connecting the Zoom room to the Video Bridge.
By default, Zoom will include badging (logos). There are two methods for removing this from the Zoom feed. Please refer to the example below:
- Example Meeting Information
- Meeting ID: 123 4567 8910
- Passcode: 333333
- Host Key: 180772
- Example Dial Formatting
- If no Passcode is required, dial: 12345678910..606@zoomcrc.com
- If the Passcode is required, dial: 12345678910.333333.606@zoomcrc.com. Then, enter the Host Key when prompted.
The code “606” at the end of the address tells the Zoom connector to hide any overlays. For more information, visit: https://support.zoom.com/hc/en/article?id=zm_kb&sysparm_article=KB0065727.
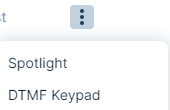
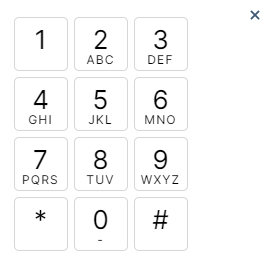
Additional changes to the video controls for the H.323/SIP Room Connector may be done using the Keypad option, which is available by hovering next to a speaker in the Video Bridge participant list and clicking on the settings button. In the settings menu, click DTMF Keypad to open the Keypad option.
Press “1” and Zoom controls will appear on the Video Bridge screen. To access instructions on Zoom dial commands, visit: https://support.zoom.com/hc/en/article?id=zm_kb&sysparm_article=KB0065727#h_01EX5JRNZFZSNNESK5E814QZBV.
Notes:
- Zoom requires the H.323/SIP Room Connector in order to connect to Video Bridge.
- Please contact Zoom Support for additional assistance with Zoom controls.
Screen Sharing Through Zoom
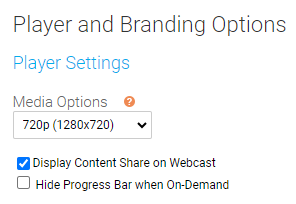
Note: If this setting is changed after the streams are connected in the Live Studio, the streams will need to be disconnected and reconnected using the Live Studio controls.
Zoom Connection Requirements
In order to connect to Zoom, you need the following in advance of the webcast:
- Confirmation that your Zoom Account has the SIP/H.323 Conference Room Connector (CRC) enabled.
- Zoom sells access to the CRC by simultaneous connections, so ensure that you have an available connection for your account for your live event, including 60 minutes of pre-event testing.
- The Meeting ID, and the password to the meeting (if applicable). Depending on your security settings, you may need to admit the Webcast into the room.
- Do not mute the connection to the Video Bridge.
- Provide the connection with full “Presenter” rights, do not add as an attendee.
- Zoom’s RTMP-based Live Streaming Service is not supported by the Webcast platform.
