Adding Virtual Backgrounds on the Video Bridge
Virtual and blurred background are available to presenters connecting their webcam to the Video Bridge. Virtual backgrounds can be added before joining the Video Bridge or after connected to the Video Bridge. Follow the instructions below to include a virtual background on your video: This article also includes best practices for virtual backgrounds.
Adding a Background Before Joining the Video Bridge
Before you join the Video Bridge, a virtual background can be selected. Along the bottom of the video preview, click on the person icon to add a blurred or virtual background to your video stream.
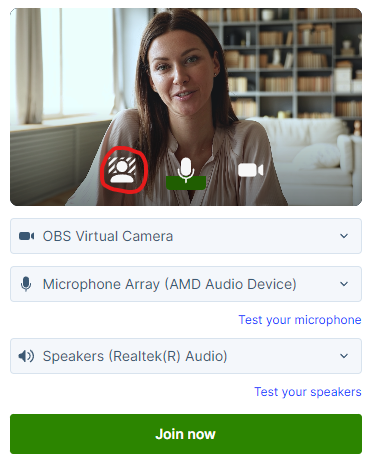
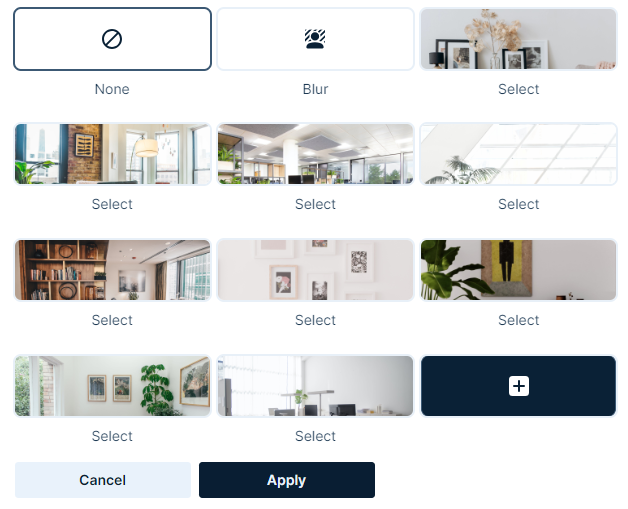
In the pop-up window, you will see a preview of your video stream and a list of available options below. Select:
- None to use your existing background.
- Blur to use a blurred background.
- One of the available virtual background images.
- The + icon to upload an image to be used as a custom virtual background.
Click Apply to add the selected background to your video stream. Click Cancel to discard changes and use your current background.
Changing Backgrounds When Connected to the Video Bridge
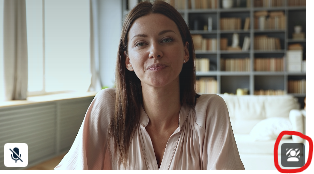
After you join the Video Bridge, you will be able to manage your background at any time throughout the event. In the self-preview window in the top right of the Video Bridge, click on the person icon to add a blurred or virtual background to your video stream.
In the pop-up window, you will see a preview of your video stream and a list of available options below. Select:
- None to use your existing background.
- Blur to use a blurred background.
- One of the available virtual background images.
- The + icon to upload an image to be used as a custom virtual background.

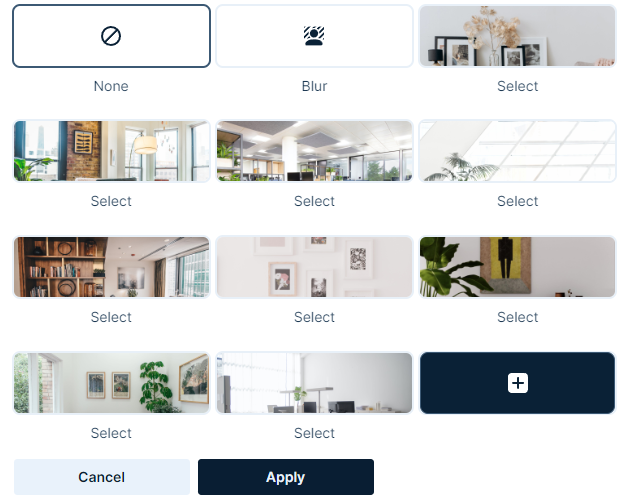
Click Apply to add the selected background to your video stream. Click Cancel to discard changes and use your current background.
Virtual Background Best Practices
Virtual Backgrounds require significant local processing, which could affect the performance of your machine. If there are noticeable audio or video quality issues while using Video Bridge, try disabling the Virtual Background effect. Below are best practices for using virtual backgrounds. Following these guidelines will produce the best quality video:
Setup
- Use good lighting to ensure you and your background are clear and well lit.
- Use a solid-colored background (screen, wall or curtain) or simple background (no art, shelves or objects).
- If available, use a green screen or blue screen for the best results.
- Wear clothing that contrasts with your background. High contrast will make it easier to distinguish you and from your background.
- Use a wired ethernet connection (rather than wifi) for the fastest and most stable connection.
- Restart your computer before the event and close any unneeded programs and applications to optimize your computer's performance.
Video Bridge Layouts
- Using a virtual background will decrease the presenter's video resolution to maintain smooth frame rates across varying types of connections.
- When displayed full screen for high resolution events (720p+), you may see an impact to the quality of their video quality. If so, it is recommended to display these presenters in a multi-camera layout for the best results.
Custom Background Images
For custom virtual background images, we recommend images using the following minimum specs:
- Resolution: 1920x1080
- File Type: JPG
- File Size: 1 MB
Troubleshooting
If the virtual background option does not appear, this is may due to a browser setting. Please enable your browser's hardware acceleration, which allows for smoother browsing, audio/video streaming, and overall experience.
- For Chrome: Visit Menu > Settings > System and ensure the Use graphic acceleration when available is enabled. Restart your browser and rejoin the Live Studio.
- For Edge: Visit Menu > Settings > System and performance and ensure the Use graphic acceleration when available is enabled. Restart your browser and rejoin the Live Studio.