Assemble or edit an event recording
Use the editing studio to make simple edits to recorded content and to assemble content for any type of event. You can add and remove audio or video clips, slides, headshots (telephone broadcasts), surveys and survey results, and layout changes if you turned on Layout Switching. You can also change the start and end times of the event, cut out parts of the event audio and video, change the times that content is presented, and add jump points to specific parts of the event.
Notes:
- For detailed edits, we recommend using dedicated video editing software.
- The editing studio goes by different names depending on the type of event: On-Demand Studio for On-Demand events and archived Live events; SimLive Studio for Simulated Live events.
Jump to: Before you begin | Access the editor | Add event content | Edit the recording | Publish the event
Before you begin
The editing studio automatically saves your changes as you edit and keeps a history of those changes while you are editing. The Undo button lets you cancel each change you made, in reverse order (starting with the most recent).
When you close the editor, it ends an editing “session” and all changes are saved (there isn't a Save button). The next time you open the editor, the Undo button is disabled - you can't undo changes from the previous editing session. However, you can reverse out all changes and revert to the last published version - just click Revert Unpublished Changes. Attendees won't see your edits until you click Publish All Changes.
Access the editor
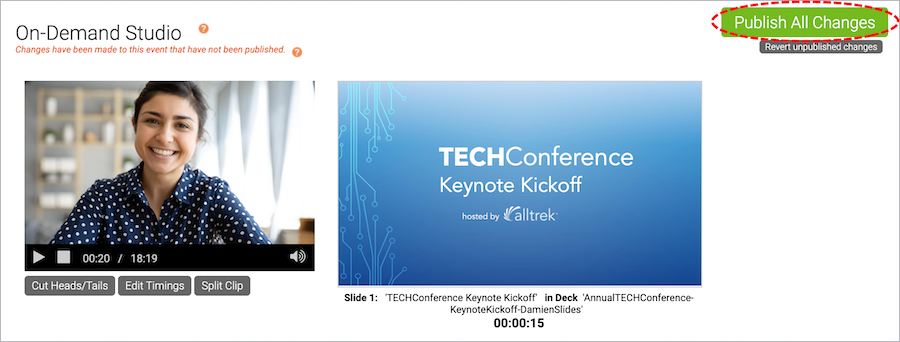
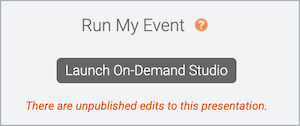
To start editing or assembling an event, on the Event Summary tab, click Launch On-Demand Studio or Launch SimLive Studio. A notice displays if you have unpublished edits to the event.
Add event content
The event timeline is where you'll edit or assemble the event. It contains tracks for all types of event content: the Media track for audio and video clips and overlay videos, the Slides track, the Headshots track (Telephone broadcasts only), the Surveys track, and the Layouts track.
If you are editing an archived Live event recording, the event timeline already contains the audio or video clip, slides, headshots, surveys, and layouts presented during the event. If you're assembling an event from scratch, the event timeline is empty.
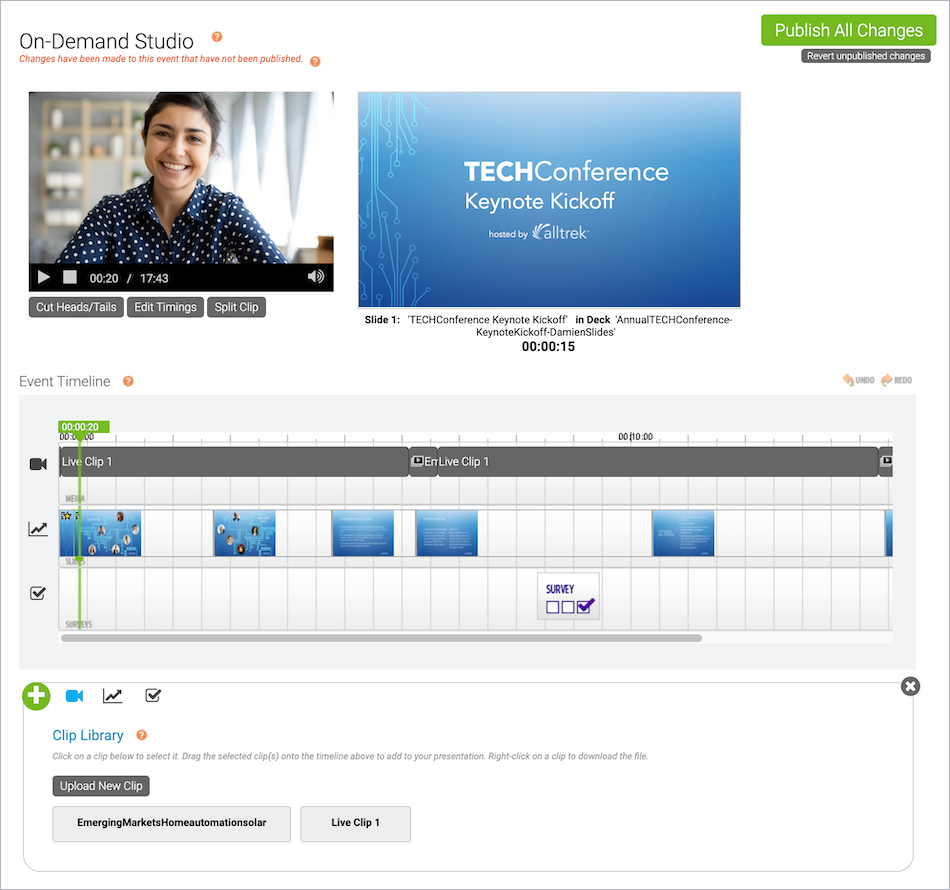
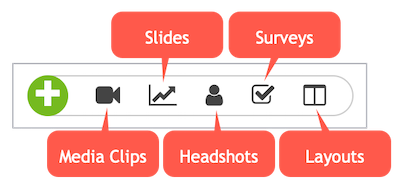
The content you uploaded on the Event Content tab when you set up the event is available in the content libraries. To add content to the recording, under the timeline, click the Media Clips, Slides, Headshots, Surveys, and Layouts buttons to expand the content library and then drag and drop content onto the appropriate track on the timeline. You can also optionally click the Add (+) button to expand the Media Clips library.
Edit the content and timings
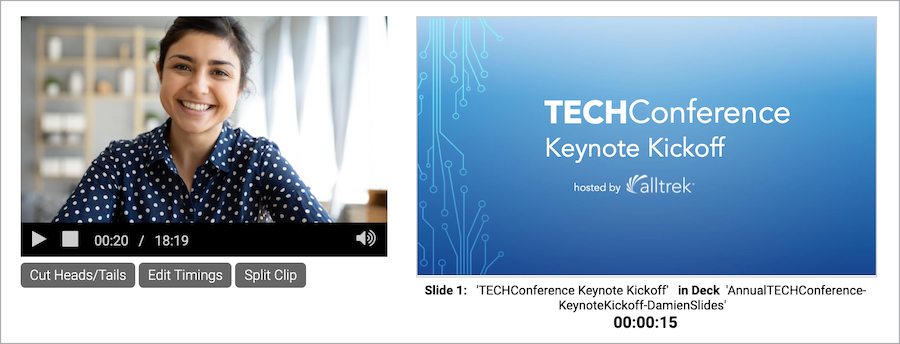
After you add content, on the video player, click Play to run through the content on the event timeline and review placement and timing. The clips and headshots on the timeline play in the video player on the left, and the slides and surveys are displayed on the right. After you click Play, you can click and drag the green marker on the event timeline to go to any point in the event.
Then, use the timeline and video player options to adjust individual elements in the recording.
On the event timeline, right-click a:
- Clip to play it, edit the clip duration, replace it with another clip you uploaded to the event, or remove it
- Slide to edit the timings, replace it with another slide you uploaded to the event, remove it, or add or edit slide animations
- Survey to remove it
- Headshot to edit the timings or remove it
Under the video player, click:
- Cut Heads/Tails to change the start and end times of the event
- Edit Timings to add Jump Points to the event
- Split Clip to cut a live or primary clip into two
Note: You can't split overlay videos.
When you're finished editing, a message displays asking you to Adjust Event Timings. Click Yes.
Important: If you click No, the slides and other content may become out of sync with the event audio or video.
Publish the event
Once your edits are complete, be sure to review them. On the video player, click Play to run through the updated timing and content. When you're ready to finalize changes to the event, in the top right corner of the editing studio, click Publish All Changes. Publishing the event updates the event replay and the downloadable MP3 and MP4 archive. You will receive an email once the event is published.